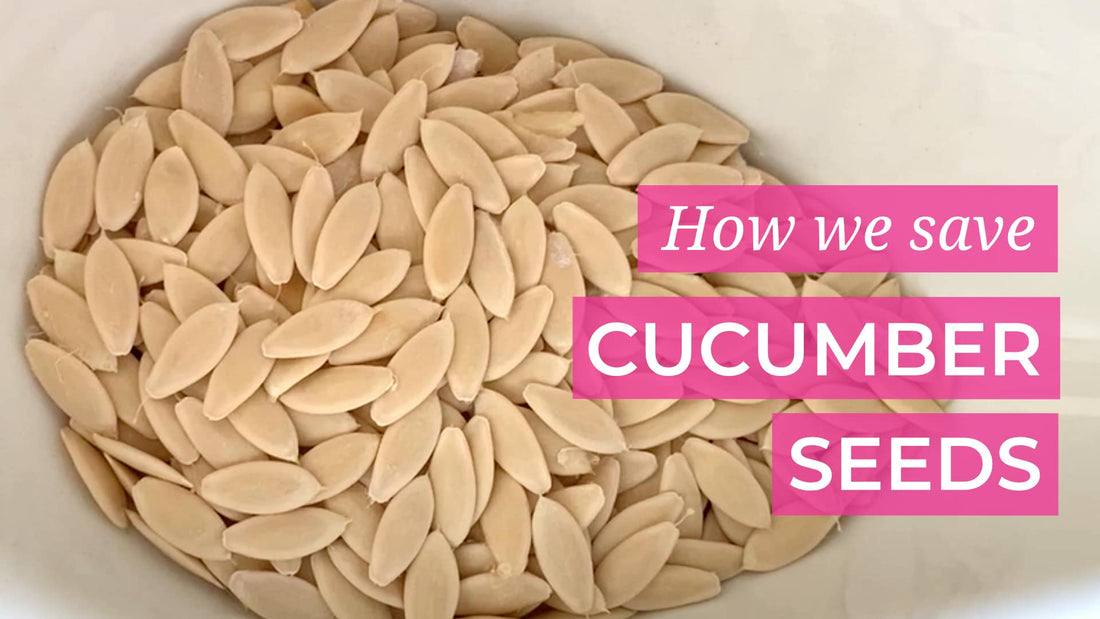
Every gardener should know how to save seeds and in this post I wanted to share our process of how we save cucumber seeds.
Avoiding cross pollination
Cucumber flower have incomplete flowers, which means they have female and male flowers and require insects to pollinate them for the fruit to form. If you have problems with cucumbers not forming, you may have a lack of bee problem (or perhaps your cucumbers are under exclusion nets). The problem with seed saving cucumbers is they will cross with other cucumber flowers, which could give you non true to the original variety you grew. For context, a standard honey bee can generally fly up 5kms from their base and visit a lot of flowers in that time and hence cross pollinate your cucumbers from other cucumbers growing in the area.
To avoid cross pollination we grab the flowers before they open - both a male and a female flower and put an exclusion bag around them. When the flowers open we do the work of the bees.
Select the best and let them ripen completely
With cucumbers we let the fruit ripen fully, it will change colour to yellow and be a little squishy. You want the seeds to form completely before harvesting. When selecting your cucumber for seed saving make sure your plant is free from any disease, often if the plant is diseased it can also stay within the seed. Only select the best of the best. We try to save the first fruit for best results and we don't bother saving from plants that are failing to thrive, even if that means we miss out on seeds that season.
Extract the seeds and let them ferment
We cut our fruit longways and using a spoon we gently dig out the seeds and pop in a glass jar to ferment overnight. Often the pulp is enough liquid to help the fermentation process but you can add extra water if need be to help with breaking down the pulp. Here in the subtropics we leave ours for about 24 hours - you will see it starting to ferment with some bubbles appearing. Don't leave them longer than 3 days.
Remove the unviable seeds
During this process you will find the good seeds sink because they are heavier, and the ones that are no good will float to the surface. We use a spoon to scrape these off and discard them.
Rinse and dry the seeds
Rinse your seeds to remove any excess pulp. If too much pulp remains the seeds may struggle to dry adequately and can potentially get mouldy. To dry we place on wire mesh splash guards (you can get them from most kitchen shops) which allows plenty of air flow for the seeds to dry. You can also use plain paper, but paper towels we've found that they stick and are difficult to remove once dry.
How long it takes will depend on your weather, we leave them for at least 2 weeks before testing them. If they still feel damp (or if it's been super rainy) we will finish them off in the dehydrator. A cheap way to figure out if your seeds are dry enough is to invest in some colour changing silica gel beads, pop them in an air tight container put your seeds in a paper bag and see if the gel changes colour. If it does they'll need more drying time.
Testing our saved cucumber seeds
We test our seeds three different ways - Germination, Vitality and then True to type. The first is for germination rate - working out the percentage of seeds that germinate in the required conditions (temperature/moisture). The next test is vitality - this is really about how well they germinate in soil conditions and how well they grow. From those we then grow them to maturity to ensure no cross pollination occurred. Bugs can be crafty so you just never know!
Seed saving not your thing?
One of the biggest reasons you may not be saving seeds is just a matter of space. So if you don't have space or time you can purchase our cucumber seeds here. Note: if we're sold out jump on the wait list to be notified when back in stock.
Need more help getting your garden going?
Come join us over in Dirt Lovers membership to help you get your veggie patch in tip top shape.
We're always learning and so if you've got any tips for saving cucumber seeds please leave a comment below.

