The benefits of no dig garden beds are amazing. Here's how to apply this method to replenish your garden beds for the next crop.
Why no dig? Firstly I never have to weed, my soil is so healthy and full of life and as the name implies there is no digging. We've talked about how to set it up (You can find our no dig method here) but what happens once your crops have finished? What's next? As we intensively plant we definitely need to top up nutrients so our beds don't run out of puff. In addition, being raised beds full of organic matter (that breaks down over time) the levels also drop so we need to also top up regularly.
Now your existing bed does not need to be a no dig bed to follow along with this method. If you've bought in soil or are working with an existing garden bed this is a great way to replenish any garden bed to give it a new lease on life.
Our process for our raised garden bed rejuvenation
Figure out what you're keeping
One of the major benefits of not digging is keeping your good guys in tact and this includes the networks of microbes and mycorrhizae. These guys form a symbiotic relationship with the plants to help them both get what they need. These networks are delicate and can be damaged quite easily with digging, but if you keep some plants going, their food source won't disappear. A modern style of gardening will have you rip everything out and start again but we don't do that. We simply cut off anything that is finished at the soil base, this creates air pockets in the soil as the roots break down. We leave what hasn't finished. Simple.
Gently Aerate (Or Bury Bokashi)
We have moved to using Bokashi bins as my children are disgusting plague ridden food wasters - which includes a lot of food that I wouldn't put in our regular compost bin (because rodents). Bokashi is a way of composting using anaerobic bacteria to help break down the food faster. It essentially pickles the waste and you can add things that you normally wouldn't a regular compost (Dairy/grains/meat). I usually bury our bokashi buckets in our beds just before planting out. If I am not burying a bucket of Bokashi I will gently aerate by pushing my garden fork in and gently wiggling. I don't lift if up and turn it over. Market gardeners who follow no dig methods may use a broad fork but we just use a regular old garden fork.
Replenish your garden bed with compost
Now is time to top up the bed, we layer a mix of 2 parts compost, 1 part cow manure and layer this over the garden bed at a dept of 3cm (around 75 litres for a 2x1m bed). Just remember to keep clear of existing plants to avoid rotting issues (some plants are fine to have it slightly buried so check what you've got before you bury them).
Add some extras
Again intensive gardening we need to give everything a boost with trace elements, macro and micro nutrients. We have our goodie mix that we use which is a mix of seaweed, rock minerals, worm castings, bone meal, MycoGold and a few pieces along with some slow release organic fertliser. Dirt Lovers can access my recipe for this inside the portal. Once we've done adding this on, we gently mix it in.
Mulch, Water and wait
Once you've done this you want to mulch it well (we use sugar cane) and water it in and then wait a week or so before planting out to allow it all to settle in.
To recap - how we replenish our garden beds ready for planting again
- Cut plants down that you don't want to keep leaving roots intact
- Gently aerate with a fork or bury bokashi
- Top up with a 3cm layer of compost (blend of 2 parts compost 1 part cow manure)
- Add extra amendments to give your soil a boost
- Mulch
- Water in
- Wait a week or so before planting out
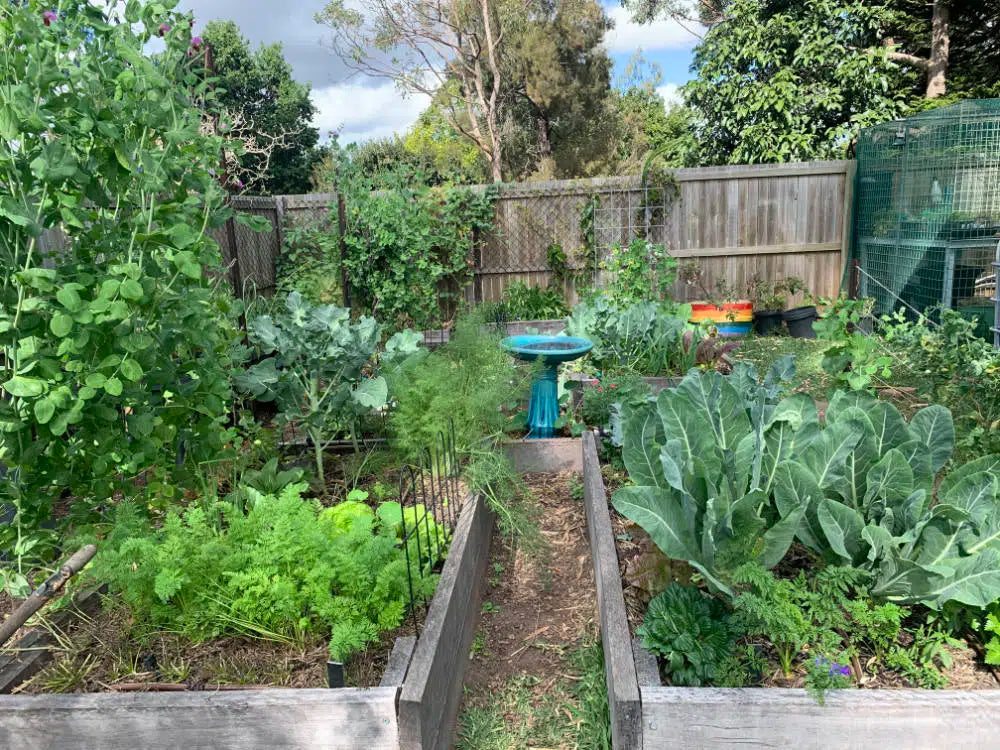
Here's a bed we recently did for our Spring Planting.
I hope that helps you get your gardens back on track. Leave a comment below if you've given this a whirl!

