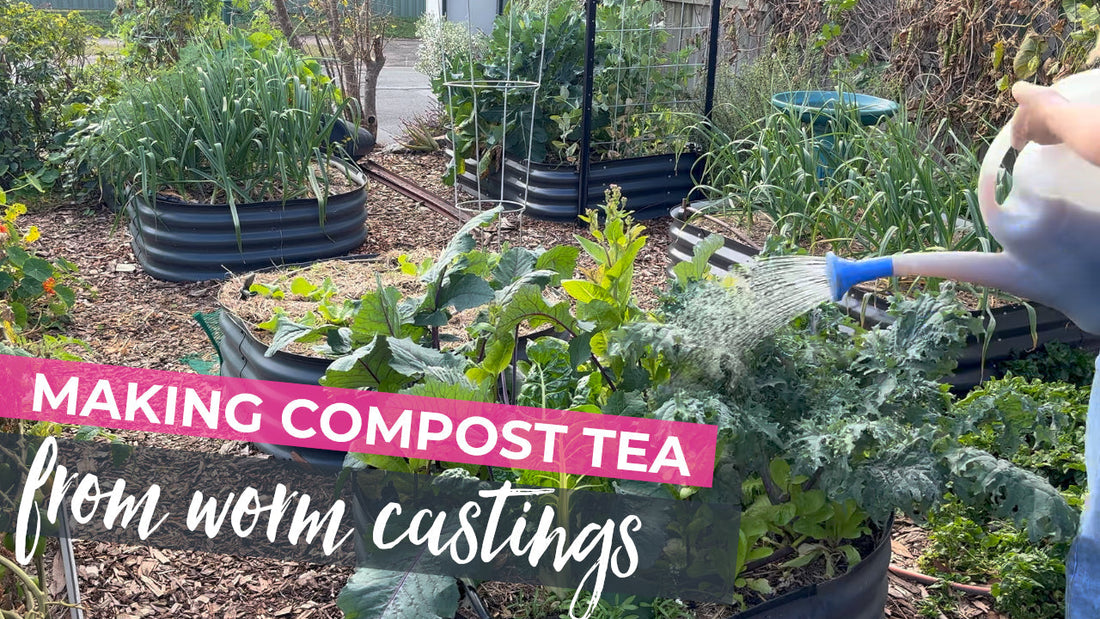
Around twelve months ago, I restored my neglected worm farm - a converted bathtub - and today I’m harvesting the compost! In this post (and video), I’ll share my favourite way to use worm castings and make them stretch: by creating actively aerated compost tea.
Why Worm Castings Are Garden Gold
The compost that worms produce, often called vermicompost, is like black gold for your garden. It’s packed full of beneficial bacteria that improve soil health, boost plant growth, and help your vegetables thrive.
Not only that, but worm farms are one of the easiest and most sustainable ways to process kitchen scraps. The key is balance:
- Provide plenty of bedding (I use damp shredded paper).
- Avoid overfeeding, which can create a smelly mess.
Choosing the Right Worm Farm
Over the years, I’ve tried different types of worm farms.
Commercial worm farms: Convenient but often produce a sloppy mess, too much leachate (“worm wee”), and escaping worms.
My bathtub worm farm: A bit more hands-on at harvest time, but much more reliable, with little to no leachate.
In the future, I’d love to set up a continuous flow-through system (CFT), but for now, the bathtub works beautifully.
Using Vermicompost in the Garden
There are many ways to use worm castings:
- Sprinkling directly into the garden
- Mixing into seed-raising soil
- Adding to compost bins for a microbial boost
- But my favourite method is turning them into an actively aerated compost tea.
Note: Compost tea isn’t a fertiliser - it’s a biological inoculant that introduces beneficial microbes into your soil.
What You’ll Need to Make Worm Casting Compost Tea
For a 10-litre batch (enough for my whole veggie patch as a foilar spray), you’ll need:
- 20-litre bucket (for space — the brew bubbles up)
- Aquarium air pump (powerful enough to create strong bubbling)
- Paint strainer bag (to hold the worm castings loosely)
- 1 cup worm castings (well-finished; mine were a year old)
- Microbe food: Fish hydrolysate, kelp meal, or alfalfa meal
- Rainwater or dechlorinated water (if using tap water, leave it in the sun for 24 hours to off-gas chlorine)
Step-by-Step: Brewing Actively Aerated Compost Tea
Prepare the water
- Make sure everything is clean
-
Fill your bucket with 10 litres of rainwater or dechlorinated tap water.
-
Check the bubbles resemble a rolling boil — I call it my “witches brew.”
-
Add the worm castings - Place 1 cup of worm castings into the paint strainer bag. Hang it in the centre so it’s just submerged.
-
Feed the microbes - Add 1 teaspoon of fish hydrolysate/kelp mix for 10 litres of water.
- Let it brew - Run the bubbler for 24 hours. When ready, the tea should have a foamy surface and smell earthy, like a forest floor.
If it smells bad, something went wrong (poor aeration, contamination, too much food, or over-brewing). Discard and start again with clean equipment.
How to Use Worm Casting Compost Tea
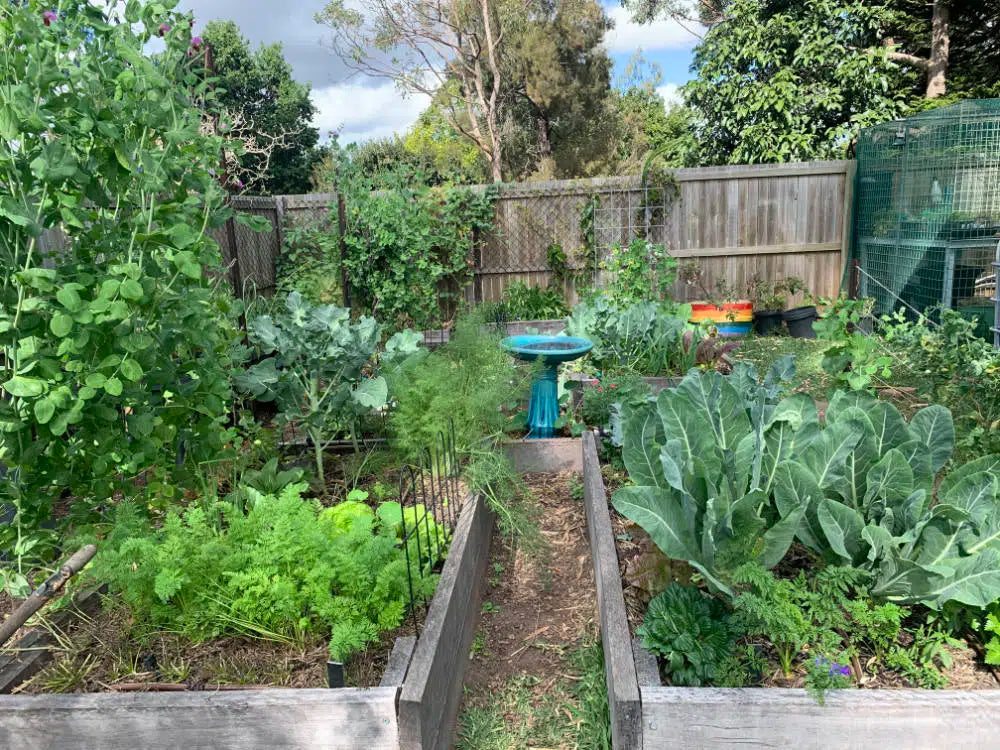
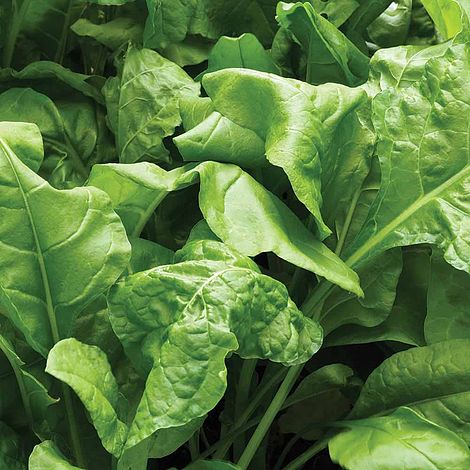
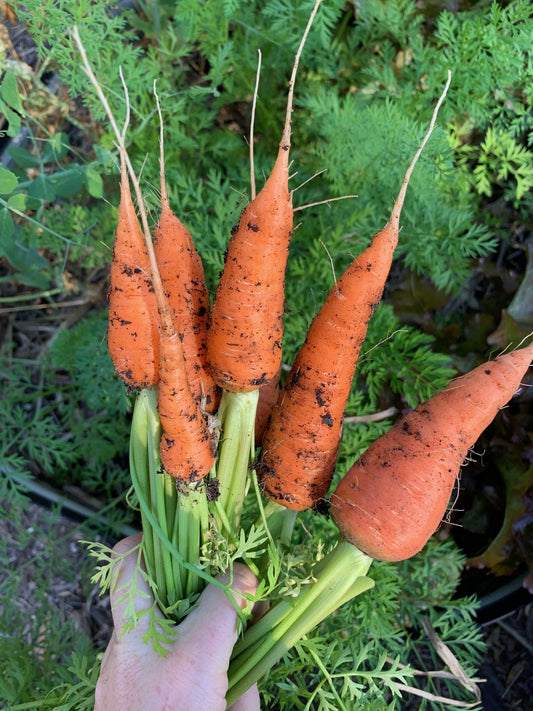
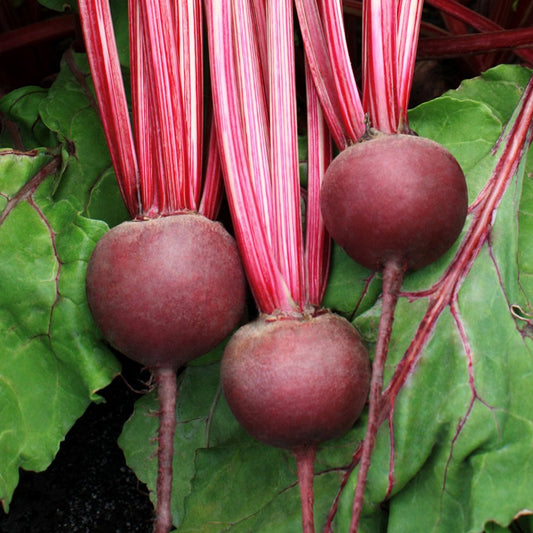
Foliar spray: Apply directly to the leaves of brassicas, lettuce, tomatoes, beets, and carrots to boost resilience against pests and disease.
Soil drench: Pour around the base of root vegetables to improve soil biology.
Compost booster: Add to your compost bins for a microbial kickstart.
Pro Tip: Harvest your leafy greens before spraying, and wash them well if it hasn’t rained since application.
When and How Often to Apply
I only apply once a month in the veggie patch, or at the change of seasons. A great time is just before or after rain. Like other liquid feeds, apply in the morning or late afternoon - never in the heat of the day.
Final Thoughts
Worm casting compost tea is one of the easiest and most effective ways to supercharge your garden soil naturally. It’s not a fertiliser but a living microbial inoculant that helps your plants thrive.