If you want an endless supply of greens the simplest thing to do is grow micro greens. From planting to harvest you’re looking at anywhere between 2-4 weeks. Microgreens are one of our go to crops during summer when it gets too hot to grow lettuce well, but they are great all year round and you don’t need a lot of space to grow them.
What can you use as a micro green?
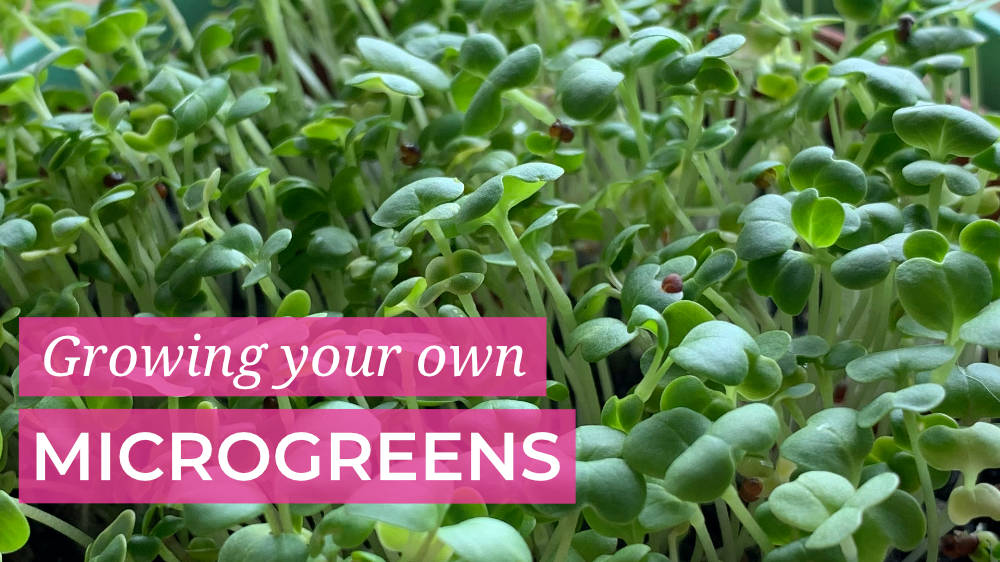
Micro greens are essentially any leafy veggie grown to the 4th leaf stage and harvested by simply cutting them. You can grow all sorts of leafy green as micro green providing your seeds are cost effective.
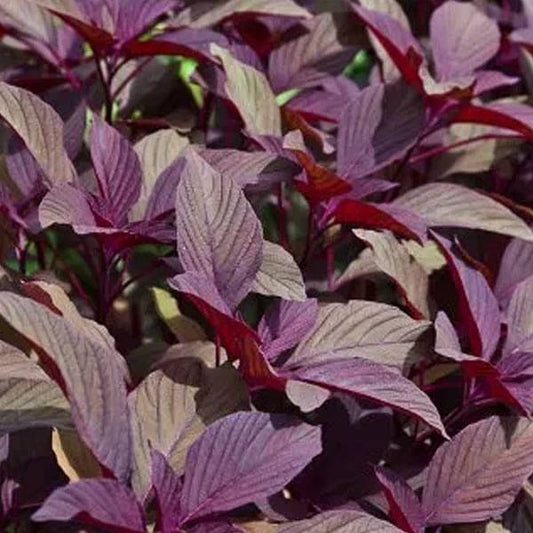
We love amaranth for the beautiful red colours (it’s sweet and tastes a little like baby spinach), it can take a little longer than the rest though. Our second favourite is broccoli sprouts.
Things you can grow as a micro green:
- Rocket
- Radish
- Broccoli
- Cabbage
- Kohlrabi
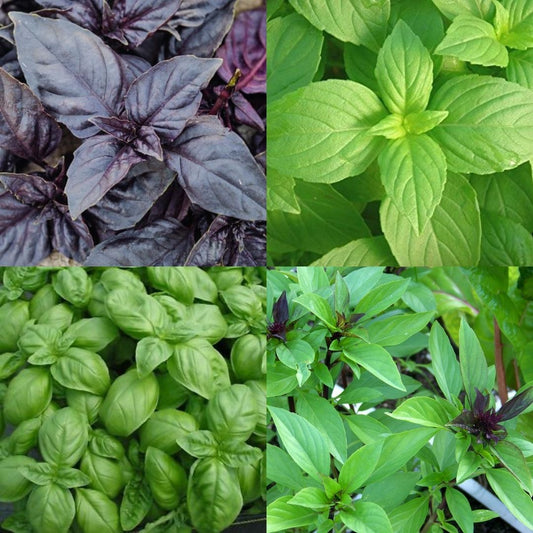
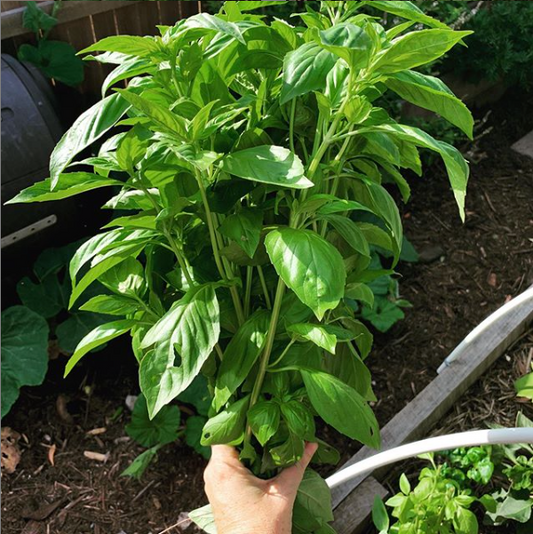
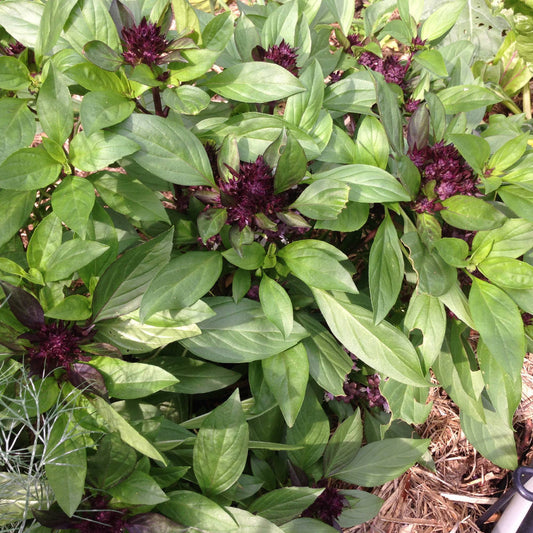
- Basil
- Lettuce Mixes
- Mustard
- Asian Greens
- Kale
- Purple top turnips
The key thing for micro green seeds is they need to be untreated with any fungicide, so we find it best to use any seeds you’ve saved yourself or special microgreen seeds.
What you need to grow microgreens
Tray
We use a tray that fits neatly on our window space, but you can use regular pots or seed raising trays depending on where you are locating them. They don’t need to be very deep because we harvest them quickly.
Paper Towels
Pre-moistened Paper towels are used to cover the seeds, this helps keep them moist as well as keeping them clean from the soil so it’s easy come harvest time.
Potting Mix
We use our own seed raising mix, you don’t need anything flash as the energy will be coming from the seed itself not the soil. It’s essentially something to anchor the greens into and help provide moisture, you could even get away with using some inert growing media that is used in hydroponics. Make sure your mix is pre-moistened before adding your seeds.
Seeds
Depending on the variety of seed you’ll need around 1 teaspoon for a regular sized seed raising tray.
Spray bottle
A water spray bottle to help keep them moist.
The perfect location
You want a spot that is protected from the elements. As we are growing them quickly they grow perfectly well in low light conditions so are a great one to have growing inside. We grow ours on our kitchen window sill but you could also grow them on an outdoor deck, under an eave or in a greenhouse.
How to harvest
Different plants are best harvested at different times but as a general rule you want to harvest either at the first leaf stage or just before they get their second set of true leaves. Once they get to the true leaf stage, they’ll start wanting a bit of extra ‘feed’ so may struggle so best to harvest quickly.
To harvest, simply cut off what you need.
Succession
If you want ongoing supply make sure you’re replanting a new batch at least every second week (every week if you are eating lots of them).
Why are microgreen seeds cheaper than regular seeds?
When you’re buying micro green seeds you may find they are a lot cheaper than if you were to buy a standard pack of seeds. Generally this is because they aren’t grown to maturity the seeds are often excess or the rejects. For example if you’ve accidentally cross pollinated a couple of different radish plants then it’s not going to grow true to type at maturation, but it will still have all the leaf qualities of a great microgreen.
We have loads of video tutorials inside the dirt lovers membership on growing sprouts and microgreens, we’d love you to join us.
Do you grow microgreens? If so leave a comment below and tell us what you grow

